Modern cameras are remarkably good at taking photos. Point it at the target, hold the shutter button half-way down to focus then click to take the photo, and 9 times out of 10 you’ll get an acceptable image, assuming you remembered to take the lens cap off. But, Bu won’t learn very much from doing that. If you want to learn or improve the photographic skills you need to get your camera off the auto modes.
That doesn’t necessarily mean going full manual, at least not initially. Your camera offers two semi-automatic modes although the names may vary slightly from manufacturer to manufacturer. If you haven’t read my article about the Exposure Triangle, I strongly recommend that you do that first before continuing with this article. Things will make more sense that way.
- Shutter Priority
- In this semi-automatic mode, the camera will prioritize shutter speed over the Aperture. This can be very useful in situations where there’s a lot of fast movement.
- Aperture Priority
- With this mode, the camera is going to keep your camera on a set depth of field (f-stop) and will adjust the Shutter Speed to compensate
- Auto ISO
- Not technically a priority mode but worth mentioning is that most modern cameras have an option to automatically adjust ISO to give you a decent exposure. This mode can be combined with either of the other two or with the Manual setting if you wish.
These modes have a number of uses and a lot of professional photographers will utilize them in specific situations. When you’re learning photography they make a great first step away from relying on full auto. As you dial in the Shutter Speed or Aperture, watch to see what the impact is on the other settings and learn from that. They are also very useful when you are still learning a camera and not that comfortable or quick with the settings since you’re only setting one value to get your exposure you can do it much more quickly and will be less likely to miss your shot.
Going Full Manual
Eventually, the goal is to know your camera well enough and be able to dial in the settings quickly enough that you can take your shots on a fully manual setting. Again modern cameras actually make this pretty easy. For a start, there’s always a little indicator on the screen to give you a sense of how over or under-exposed your image will be and most cameras will go beyond that providing you with histograms and flashing parts of the shot that are overexposed.
The biggest challenge with manual mode really is it takes a little time to dial in the settings to just where you want them, at least until you’ve learned your camera and are comfortable with the standard settings. That can be very frustrating if you’re trying to take a photo of a bird and it flies away just as you finally get the settings right.
There’s also the annoying thing where you forget to readjust your settings and as a result, get a whole bunch of over-exposed images. Which of course, never, ever, happens to me…
So let’s take a look at a few common scenarios and how you might want to adjust your settings to expose the shot well while keeping it sharp and in focus. Now keep in mind that when I talk about each of these scenarios I’m going to be generalizing. Photography is an art, not a science and there are ties when you should break the rules. You just need to know the rules before you can break them.
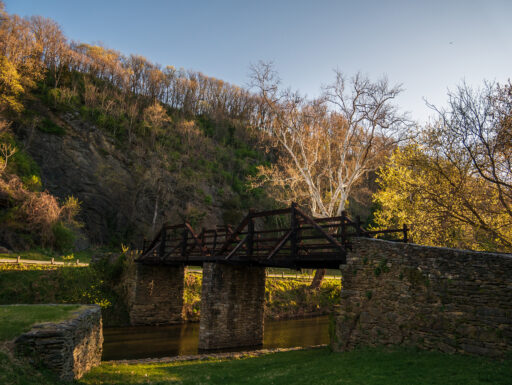
Landscape Photography
When it comes to landscape photography you can probably safely assume two things.
- There’s nothing moving
- As much of the image should be in focus as possible
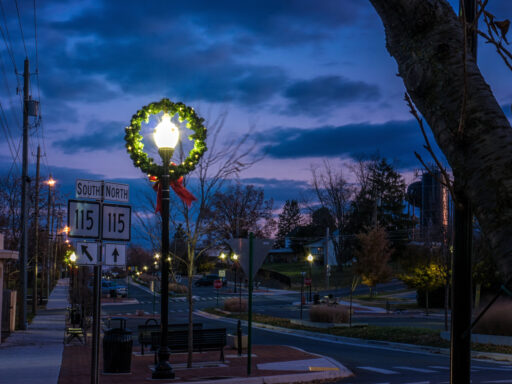
So with that in mind, the best combination is usually a higher f-stop for more depth of field, low ISO to minimize noise and longer shutter speed to compensate. If you’re hand-holding you still don’t want to be going below 1/100th of a second unless you have a very steady hand, but if you have a tripod you can easily get away with much longer shutter speeds. Really long shutter speeds can actually give some really pleasing effects with cloud or water movement but that’s a whole other article.
Pictures of the Kids (or Sports)
With kids or sports, you’re going to be dealing with lots of movement which makes Shutter Speed the absolute king. Your depth of field shouldn’t be too narrow either just in case you are slightly off in your focus but don’t go crazy here there’s no need to go very high. So this is one of the cases where you may want to crank up the ISO a bit and sacrifice a little noise in return for a sharp image. At the end of the day, a sharp image is going to be more important than anything else. There are ways to reduce noise either via editing or simply by reducing the size of the image, but there’s really no good way to fix an out of focus or blurred picture.
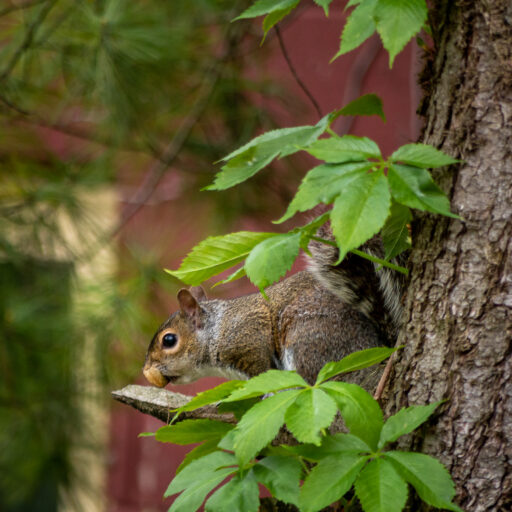
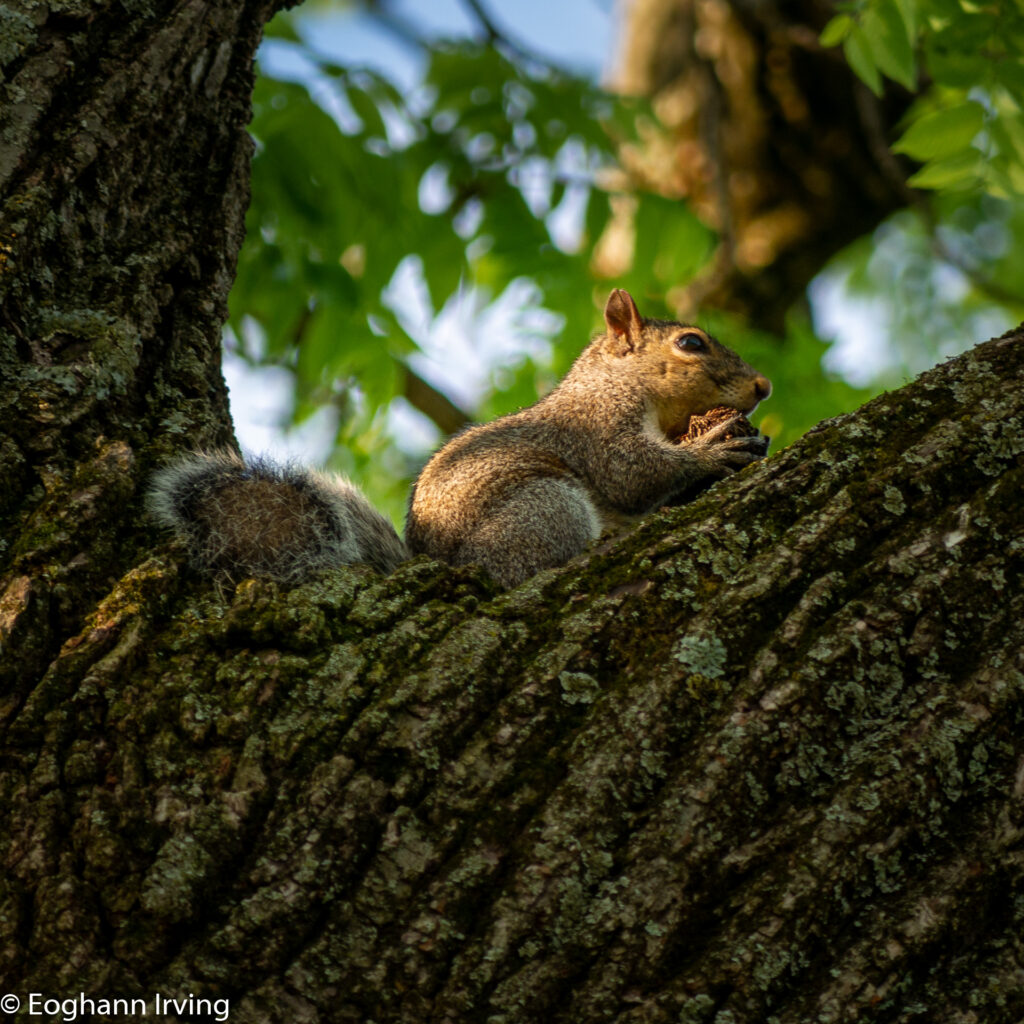
Wildlife Photography

Wildlife photography combines a couple of different challenges. For one thing you are often dealing with animals that can move quickly and for another if it is wild animals you’re shooting from a long distance away which introduces much more noticeable camera shake as a result of using a telephoto lens.
Ideally, you would be using a tripod to solve the camera shake problem, but if you’re just taking photos while out on a walk you probably don’t have one with you. In this scenario then using Shutter Priority and setting your shutter speed as fast as possible (1/500 of a second or faster if it’s a sunny day) is your best bet. So long as your shutter speed is over 1/150th of a second you should try and keep your ISO low though to minimize the amount of noise in the image. That’s because unless you have a really big telephoto lens you’re going to want to crop your image quite a bit to make the wildlife take up the bulk of it.
Portrait Photography

When we’re considering portrait photography we have a lot of flexibility in our exposure settings. If you’re dealing with adults then they can generally be coaxed to stand still enough that you don’t have to have the shutter speed cranked up really high and if you’re indoors then you also have some control over the lighting. As a starting point, I would suggest using Aperture Priority and setting your depth of field quite low. Careful dialing it all the way down though or you may end up with only a portion of the person’s face in focus.
The low depth of field will give a nice blurred background, keeping the viewers focus firmly on the subject. At a minimum make sure that your subject’s eyes are in focus. Assuming you have a cooperative subject the shutter speed can be quite low, maybe even as little as 1/60th of a second assuming you have a) steady hands, b) a camera with image stabilization, or c) a tripod. As always keep your ISO at the lowest possible value.
Just a Starting Point
Now that was just a quick high-level discussion of a handful of scenarios. There are a million more that will require slightly different combinations to get your ideal photo. But my aim here wasn’t to give you definitive answers, it was just to illustrate how these settings interact with each other and what your thought process should be before you start taking your photos.