
What is the Orton Effect
The Orton Effect is named after a process used by photographer Michael Orton in the 1980s, which is particularly popular among landscape photographers because of the dreamlike glow that it gives to images. When Orton created the process, he was using film, so the effect was achieved by using three transparencies of the same shot where one slide is overexposed, another is correctly exposed, and the third is out of focus and overexposed. Of course, these days in the world of digital photography, it is a little easier.
How to Create the Orton Effect in Photoshop
Photoshop makes applying the Orton Effect very easy, but the same basic steps should work in other photo editing apps as well. I recommend recording the steps as an action and then making small adjustments to each application of it. I’ve seen many variations on this method so as with most things in Photography I’d strongly recommend experimentation once you’ve got the basics.
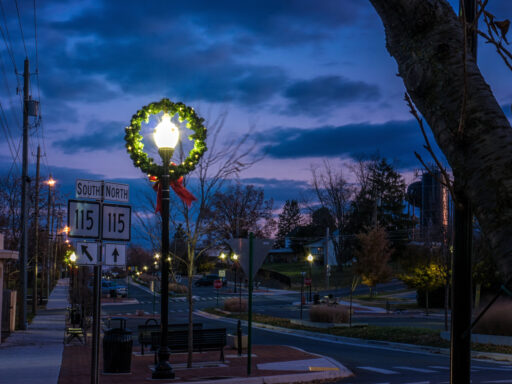
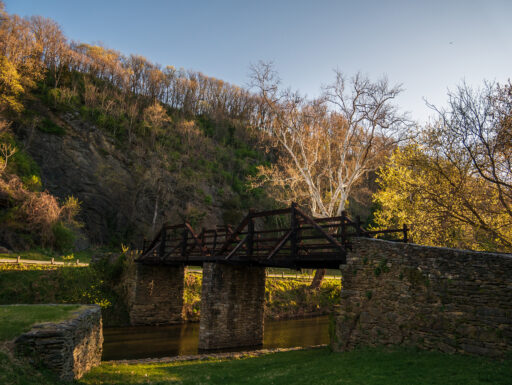
The technique does not work well on all images and can definitely be over-used, but it can add a little punch so a landscape image.
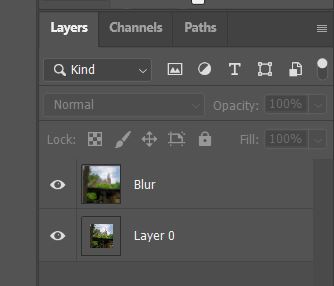
- Start by loading your chosen image into Photoshop then right click on the Layer in the Layers panel and select Duplicate Layer.
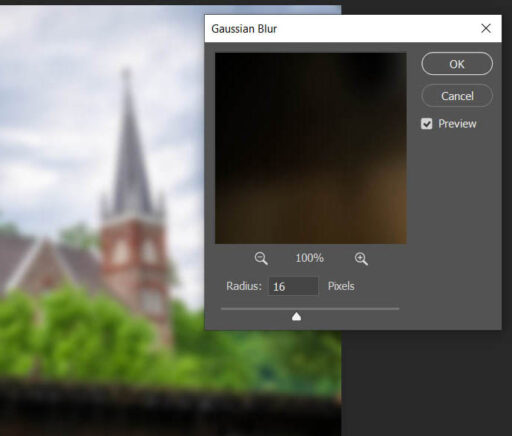
- From the Filter menu select Blur -> Gaussian Blur and set the Blur radius to the number of megapixels of your camera. This is just a starting point, you can and should adjust it until you have a pleasing level of blur to your eyes
- Next go to Image -> Adjustments -> Brightness/Contrast. We’re going to push Contrast all the way up to 100, don’t worry that it looks too dark at this point. For Brightness though, we need to be a bit more selective to avoid blowing out the highlights. You may want to use your histogram here. Try increasing it by 10-20, but less is generally more in this case.
- Going back to the Layers panel set the layer mode to Soft Light
- Adjust the Opacity slider down. The exact amount you want will depend on the image but I’d suggest dropping it down to 10% and tweaking from there.
While the Orton Effect can be very pleasing to the eye, it’s important to realize that it can be easily overdone so this is often a case where less is more. In fact the effect often works best when applied to portions of the image rather than the whole thing.
Selective Application of the Orton Effect
There are many different ways that you can selectively apply the Orton Effect including using layer masks or simply using the Eraser tool on the layer to remove it from portions of the image. However, my favorite and one of the simplest ways to do a selective application is to use Blending.

- Right click on the blurred layer and select Blending Options
- There are three values here to play with.
- The first is Opacity which sets the overall level that our blur layer will impact your image. Less is almost always more with this.
- The other two are sliders for the underlying layer and they control what parts of the image are affected by the layer. The first slider controls the dark parts of the image and the second the light.
There really isn’t a right answer to how to set these sliders. Some images will work best when the dark parts of the image have the effect applied to them while others will be more impactful when the lighter parts are affected.
How to Create the Orton Effect in Lightroom
Since Lightroom doesn’t have layers capability it’s not possible to do a pure Orton Effect but you can achieve a similar result just by adjusting a few sliders.
- Adjust the Clarity slider into the negatives
- Increase either the Contrast Slider or Texture Slider (or both) upwards to restore some detail
- If you increase contrast then you will usually want to decrease Vibrance a little bit to stop the colors from becoming to harsh
While there are no layers, Lightroom does allow you to apply selective edits by using the Radial Filter in combination with a Luminence Range Mask which works very similarly to the Blending options discussed for Photoshop.
Discover more from Veristopia
Subscribe to get the latest posts sent to your email.